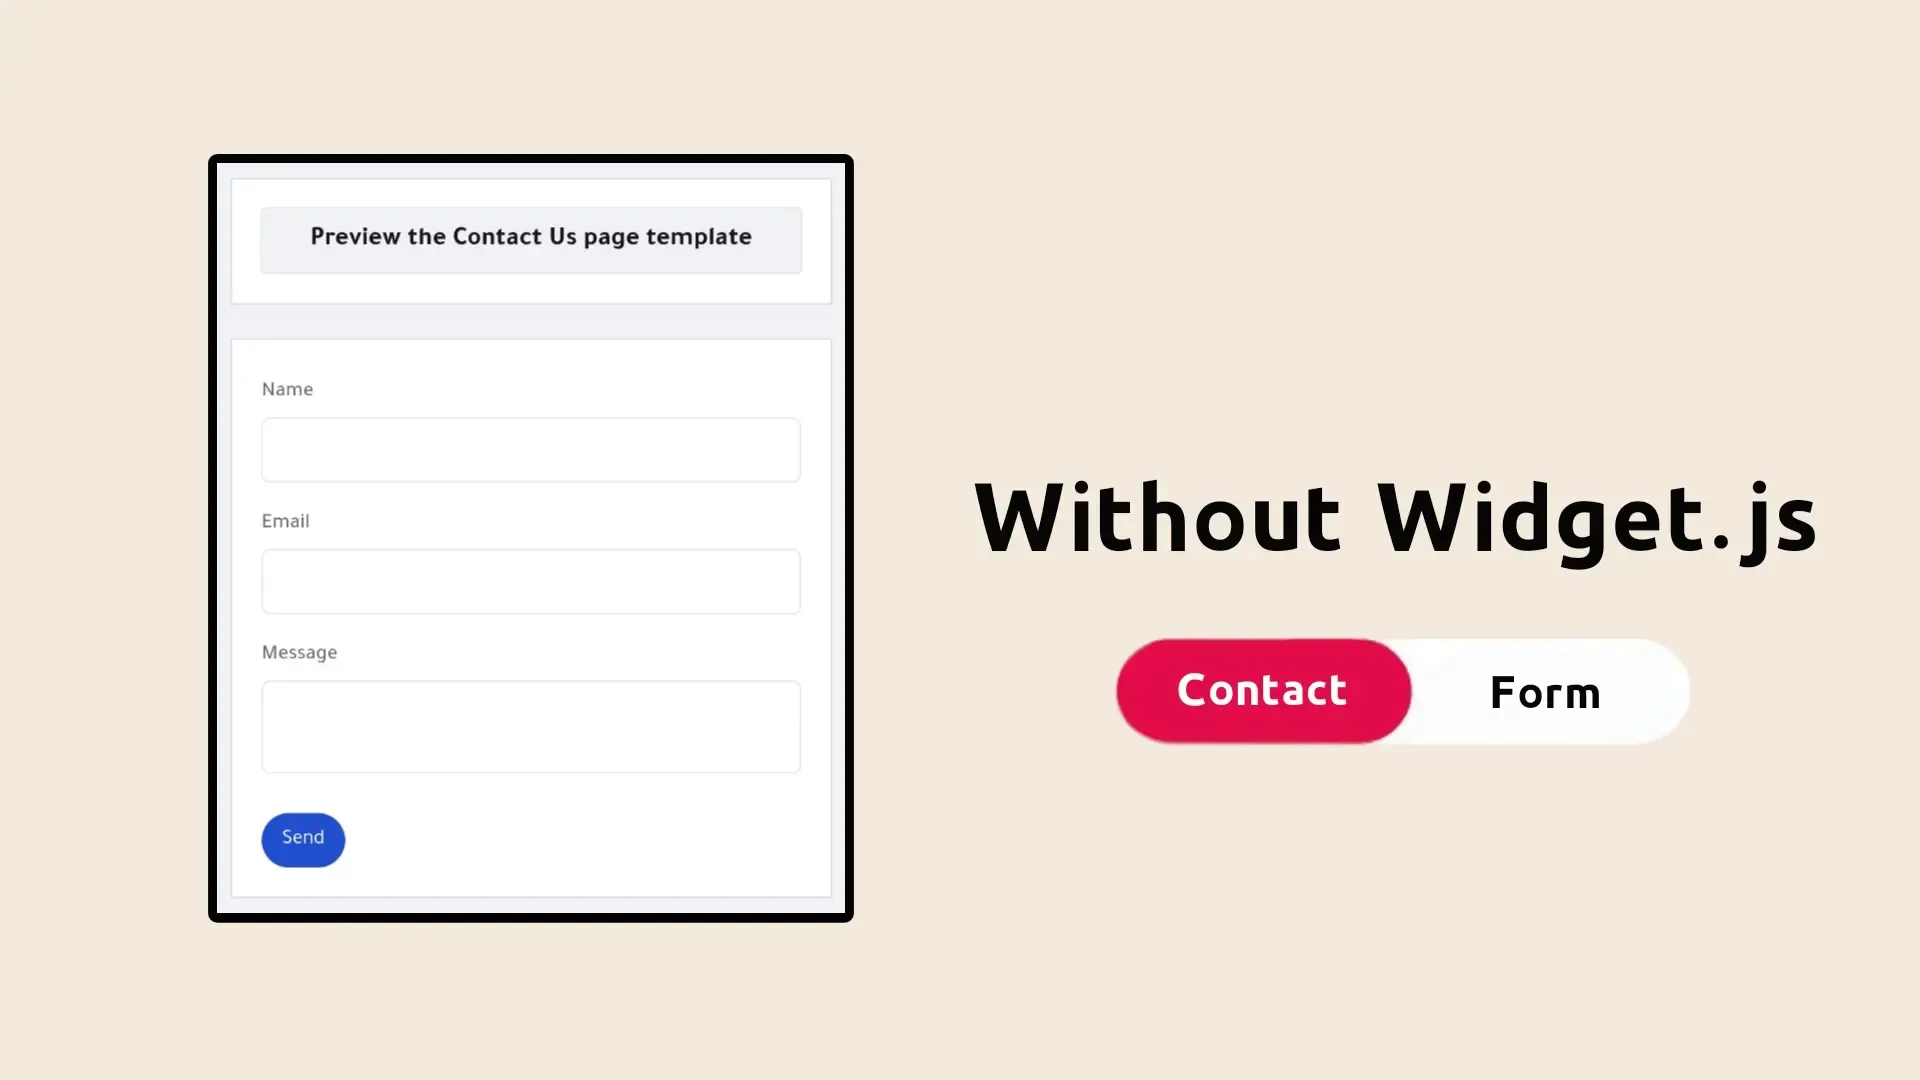
How to run a contact form in Blogger without widget.js
Many bloggers on the Blogger platform prefer to use the contact form from Blogger itself because it supports the privacy feature so that your email does not appear to visitors to your site when they enter the Contact Us page with the intention of writing to you.
However, with the recent updates made by Blogger on the platform, many people are suffering from the problem of the breakdown of the submit button on the Contact Us page on some of the Blogger templates that have not been updated to be compatible with the new changes.
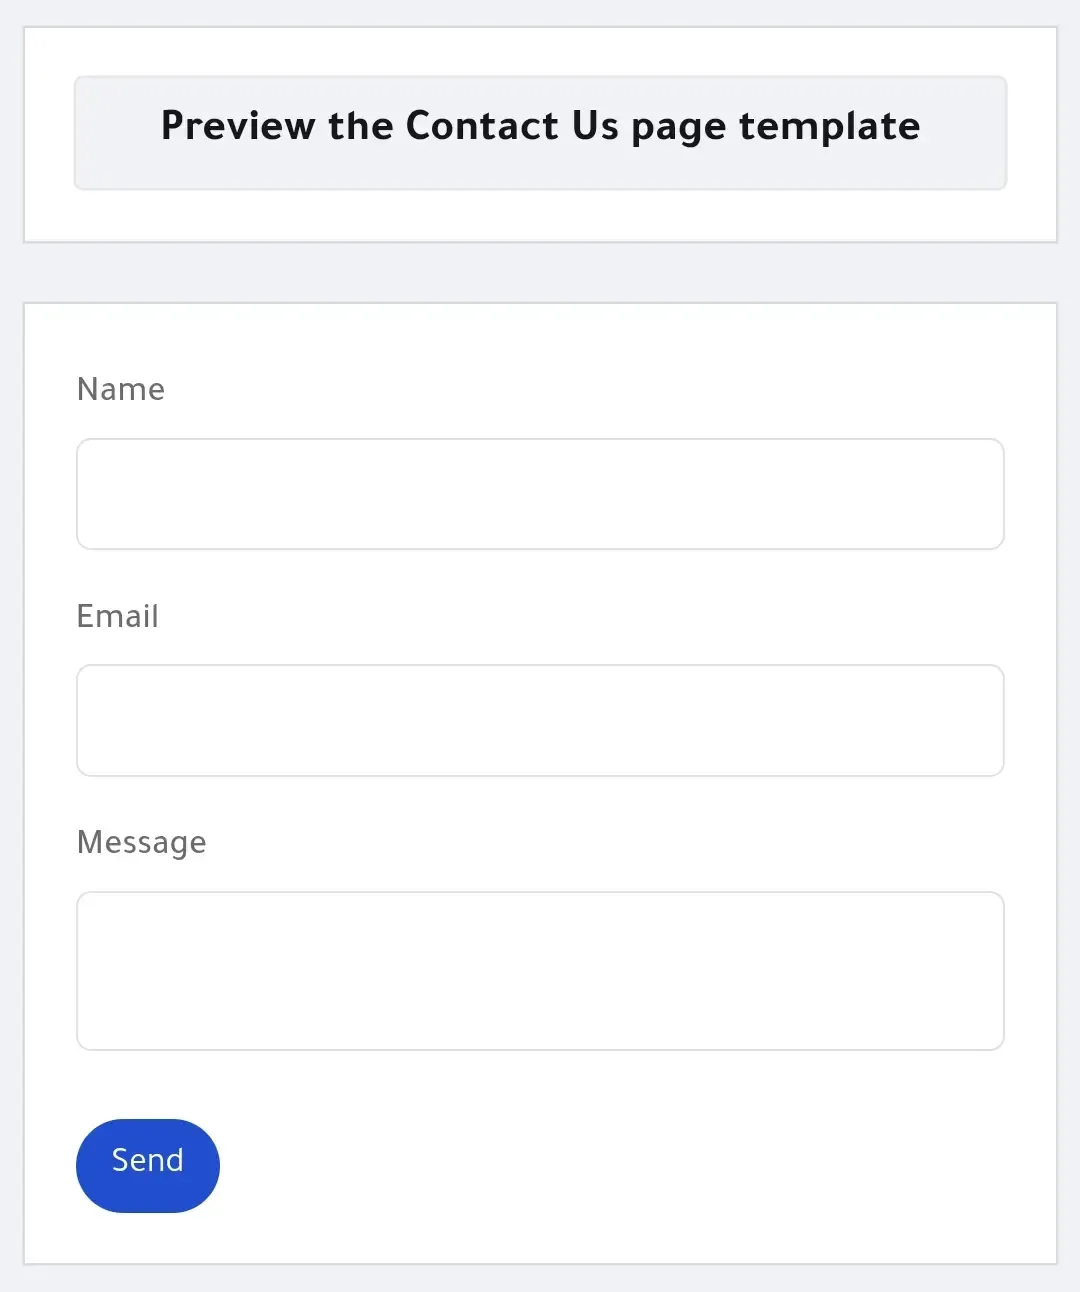
- Do you want to preview the appearance of the page?
Explanation of installing the Contact Us page on Blogger without downloading widget.js
Warning:
Please download and save a backup copy of your template to return to later in case problems occur during installation of the add-on.
Carefully apply the following steps in order to dispense with the default Blogger plugin codes and make the Blogger Contact Us page work without the need to download widget.js.
First step: Log in to Blogger control panel.
Step Two: From the side menu, go to Themes, next to Personalization, select the down arrow 👇 then click Edit HTML.
Step Three: Find a tag ]]></b:skin> and paste the following CSS code directly above it.
/* Contact Form CSS By Modows.com */
.blogger-form .input-field{margin-bottom:12px}
.blogger-form .input-field>input,.blogger-form .input-field>textarea{width:100%;padding:12px 24px;border-radius:6px;border:1px solid #e0e0e0;background:#fff;font-weight:500;font-size:16px;color:#6b7280;outline:0;resize:none}
.input-field>input:focus{border-color:#6a64f1;box-shadow:0 3px 8px rgba(0,0,0,.05)}
.blogger-form .input-field>label{font-size:14px;opacity:.8}
.blogger-form .submit-button{outline:0;border:none;background:#204ecf;color:#fff;padding:10px 14px;border-radius:30px;font-size:14px;display:inline-flex;align-items:center;justify-content:center}
.blogger-form .submit-button:hover{box-shadow:2px 2px 8px rgba(0,0,0,.1)}
.blogger-form .submit-button:active{box-shadow:4px 4px 8px rgba(0,0,0,.15)}
.form-notification{background:#c1e4ff;border-radius:10px;padding:15px;font-size:13px;line-height:.9rem;margin:15px 0}
.error .form-notification{background:#ffd3d0}
.success .form-notification{background:#d0f4d7}
Step Four: Search for the following code </body> You will find it at the end of the code page, Place these code directly above it.
<!--[ Contact Form JS By Modows.com ]-->
<b:section class='hidden' id='section-contact-form' maxwidgets='1' showaddelement='false'>
<b:widget id='ContactForm1' locked='true' title='Contact Form' type='ContactForm' version='2' visible='true'>
<b:includable id='main'><b:include name='content'/></b:includable>
<b:includable id='content'>
<script>/*<![CDATA[*/ (function(a){let b=function(a,b){for(let c in b)if(b.hasOwnProperty(c)){let d=b[c];a=a.replace(new RegExp("{{"+c+"}}","g"),d)}return a},c=function(a,b,d){if(void 0===a)return"";if(d=d||[],"object"==typeof a)for(var e in a)c(a[e],b||e,d);else d.push(b+"="+encodeURIComponent(a));return d.join("&")},d=null,e=function(b,c,e){e&&(b.classList.remove("notif","error","success","sending"),b.classList.add("notif",e)),b.innerHTML="<div class='form-notification'>"+c+"</div>",clearTimeout(d),d=setTimeout(function(){b.innerHTML="",b.classList.remove("notif","error","success","sending"),d=null},"number"==typeof a.notifTimeout?a.notifTimeout:4e3)},f=function(b){let f={name:b.elements.name.value,email:b.elements.email.value,message:b.elements.message.value,blogID:a.widget.blogId,token:a.widget.token},g=b.notifElement;if(clearTimeout(d),!1===/^[+a-zA-Z0-9_.!#$%&'*\/=?^`{|}~-]+@([a-zA-Z0-9-]+\.)+[a-zA-Z0-9]{2,63}$/.test(f.email))e(g,a.widget.invalidEmailNotif,"error");else if(""===f.message)e(g,a.widget.emptyMessageNotif,"error");else{e(g,a.widget.sendingNotif,"sending");let d=null;try{d=new XMLHttpRequest}catch(b){try{d=new ActiveXObject("Msxml2.XMLHTTP")}catch(b){try{d=new ActiveXObject("Microsoft.XMLHTTP")}catch(b){console.warn("XHR not supported")}}}null===d?e(g,a.widget.notSentNotif,"error"):(d.open("POST",b.action),d.setRequestHeader("Content-Type","application/x-www-form-urlencoded"),d.onreadystatechange=function(){if(4===d.readyState){let c=d.responseText;200===d.status?(c=JSON.parse(c),"ok"===c.type?(e(g,a.widget.sentNotif,"success"),b.reset()):e(g,a.widget.notSentNotif,"error")):e(g,a.widget.notSentNotif,"error")}},d.send(c(f)))}},g=document.querySelectorAll("string"==typeof a.selectors?a.selectors:".bloggerForm");(function(a,b){Array.prototype.forEach.call(a,b)})(g,function(c,d){let e="contact-form-"+(d+1),g=document.createElement("form");g.name=e,g.method="POST",g.action=a.widget.submitUrl,g.classList.add("blogger-form"),g.innerHTML=b(a.template,{NAMEID:e+"-name",EMAILID:e+"-email",MESSAGEID:e+"-message",SUBMITID:e+"-submit",NOTIFID:e+"-notif",NAME:a.widget.nameText,EMAIL:a.widget.emailText,MESSAGE:a.widget.messageText,SUBMIT:a.widget.sendText});let h=g.querySelector("#"+e+"-notif");h.classList.add("form-notification-area"),g.notifElement=h,g.addEventListener("submit",function(a){a.preventDefault(),f(g,a)}),c.innerHTML="",c.appendChild(g)})}) ({ widget: /*]]>*/{ sendingNotif: "<data:contactFormMessageSendingMsg.jsonEscaped/>", sentNotif: "<data:contactFormMessageSentMsg.jsonEscaped/>", notSentNotif: "<data:contactFormMessageNotSentMsg.jsonEscaped/>", invalidEmailNotif: "<data:contactFormInvalidEmailMsg.jsonEscaped/>", emptyMessageNotif: "<data:contactFormEmptyMessageMsg.jsonEscaped/>", title: "<data:title.jsonEscaped/>", blogId: "<data:blogId.jsonEscaped/>", nameText: "<data:contactFormNameMsg.jsonEscaped/>", emailText: "<data:contactFormEmailMsg.jsonEscaped/>", messageText: "<data:contactFormMessageMsg.jsonEscaped/>", sendText: "<data:contactFormSendMsg.jsonEscaped/>", token: "<data:contactFormToken.jsonEscaped/>", submitUrl: "<data:submitUrl.jsonEscaped/>" }/*<![CDATA[*/, selectors: ".bloggerForm", notifTimeout: 6000, template: "<div class='input-field'><label for='{{NAMEID}}'>{{NAME}}</label><input type='text' name='name' id='{{NAMEID}}'/></div><div class='input-field'><label for='{{EMAILID}}'>{{EMAIL}}</label><input type='text' name='email' id='{{EMAILID}}'/></div><div class='input-field'><label for='{{MESSAGEID}}'>{{MESSAGE}}</label><textarea name='message' id='{{MESSAGEID}}'></textarea></div><button class='submit-button' type='submit' id='{{SUBMITID}}'>{{SUBMIT}}</button><div id='{{NOTIFID}}' class='notification-cont'></div>" }) /*]]>*/</script>
</b:includable>
</b:widget>
</b:section>Step Five: Now you can disable the default Blogger plugin codes if you want. To do this, search for the body end tag </body> which you will find at the end of the template codes page, replace it with this code <noscript id='blogger-components'><!--</body>--></noscript></body> and click Save.
Note:
Disabling the default widgets may cause problems in some parts of the template if the developer did not build it to work without them, Please review all parts of your site after completing all installation modifications of the Contact Us page without widget.js in order to ensure that the theme works correctly.
Final step: On the Contact Us page on your site, switch the creation mode to Edit HTML and paste the following code there. Publish the page and go to preview it.
<div class='bloggerForm'></div>
You will notice that the same form as the Contact Us page on Blogger is easily called up √ The nice thing about it is that the Contact Us button will work correctly for you and you will receive the message to your email in real time with a guarantee that it will not crash in the future because the JavaScript used is installed internally and not via the URL link.


